No products in the cart.
- December 6, 2024
- Uncategorized
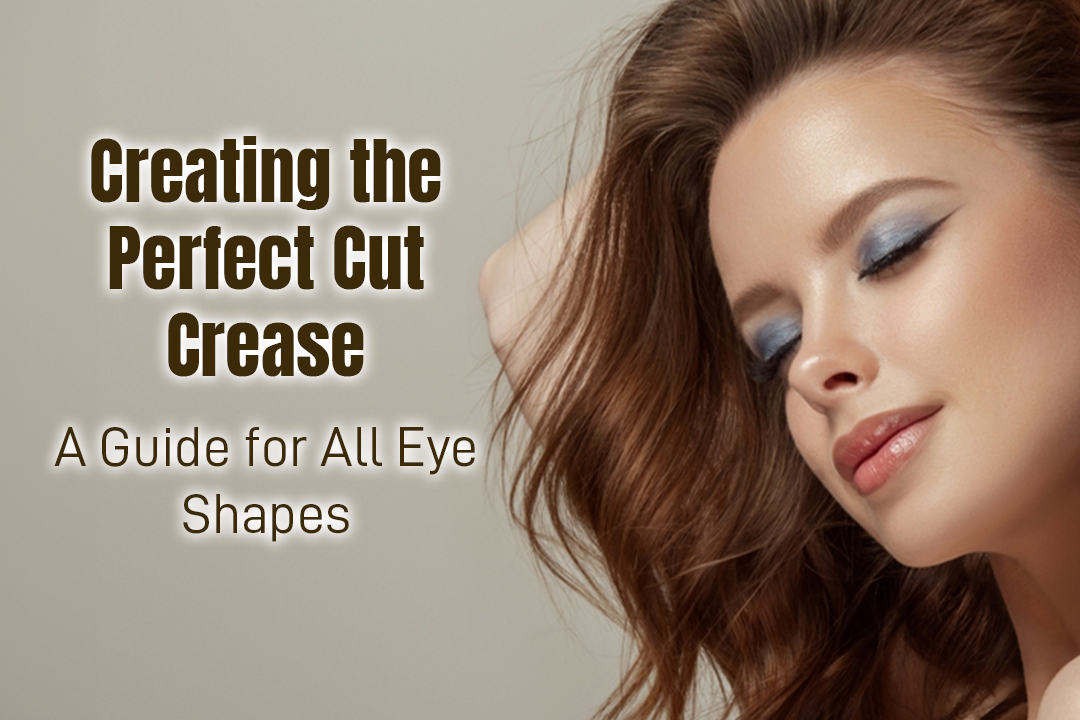
Creating the Perfect Cut Crease: A Guide for All Eye Shapes

The cut crease is a timeless eye makeup technique that adds drama, definition, and elegance to any look. Whether you’re preparing for a special occasion or experimenting with bold styles, mastering the cut crease is a skill that elevates your artistry. At Makeup Studio Pro, we understand that every eye shape is unique, so we’ve created this comprehensive guide to help you perfect the cut crease for any eye shape.
What is a Cut Crease?
A crease is a makeup technique that defines the crease of the eye with contrasting colors to create a sharp, dramatic look. It enhances the eye’s natural contour and makes the eyes appear larger and more awake.
Step-by-Step Guide to a Perfect Cut Crease
-
Prep Your Eyes
– Cleanse using the Quick Face & Eye Cleanser 3-in-1 and moisturize using the Day & Night 24 Hours Cream: Ensure the eyelids are free of oils and well-hydrated.
– Prime using the Face Prep Illuminating Primer: Apply an eyeshadow primer like the Eye Primer from Makeup Studio Pro to prevent creasing and ensure vibrant colors.
-
Identify Your Crease
Understanding your eye shape is key:
– Hooded eyes: Place the crease slightly above your natural fold to make the eyelid more visible.
– Monolids: Create an illusion of a crease by applying eyeshadow higher up.
– Deep-set eyes: Emphasize the natural depth but avoid going too high with the cut.
-
Apply a Transition Shade
Use a fluffy blending brush to apply a neutral or slightly darker shade above your natural crease. This acts as a gradient between your cut crease and brow bone.
-
Create the Crease Line
This is where precision matters:
– Use a flat, angled brush or a small detailing brush with a cream or gel concealer.
– Carefully carve out the crease line, keeping your eyes open to see where the line will be visible.
– For beginners, try mapping out the crease with a lighter eyeshadow before committing to the concealer.
-
Fill the Lid
Pack a contrasting or shimmer shade onto the cut crease area. Use a flat eyeshadow brush to apply the product evenly for a bold look.
-
Blend for Seamlessness
Blend the edges of the crease with the transition shade for a polished look. Avoid blending too much into the cut crease line to keep it sharp.
-
Define the Eyes
Add eyeliner and mascara to frame the eyes:
– Winged liner pairs beautifully with a cut crease for added drama.
– Consider false lashes for a more glamorous finish.
Tips for Different Eye Shapes
Hooded Eyes
– Keep your eyes open during application to see the crease placement.
– Avoid dark shades on the lid; focus on bright or shimmer tones.
Monolids
– Use light shades to open up the eyes and create dimension.
– Keep the cut crease line slightly higher than where your lid naturally folds.
Round Eyes
– Elongate the cut crease towards the outer corners to create an almond shape.
Almond Eyes
– Follow the natural shape of your crease, emphasizing the outer corner for depth.
Downturned Eyes
– Wing the cut crease upwards for a lifted effect.
Recommended Tools and Products
– Eyeshadow primer: Ensures long-lasting and crease-free makeup.
– Flat brush: For precise application of concealer and lid color.
– Blending brush: For seamless transitions and gradient effects.
– Makeup Studio Pro’s Pressed Pigment Palettes: Highly pigmented and blendable, perfect for creating cut creases.
Practice Makes Perfect
The cut crease is a technique that takes time to master, but with practice, you’ll find what works best for your eye shape and style. Experiment with colors, finishes, and liner styles to make the look your own.
For more professional tips and tutorials, stay tuned to Makeup Studio Pro’s blog and social media channels. Let’s make every look a masterpiece!


